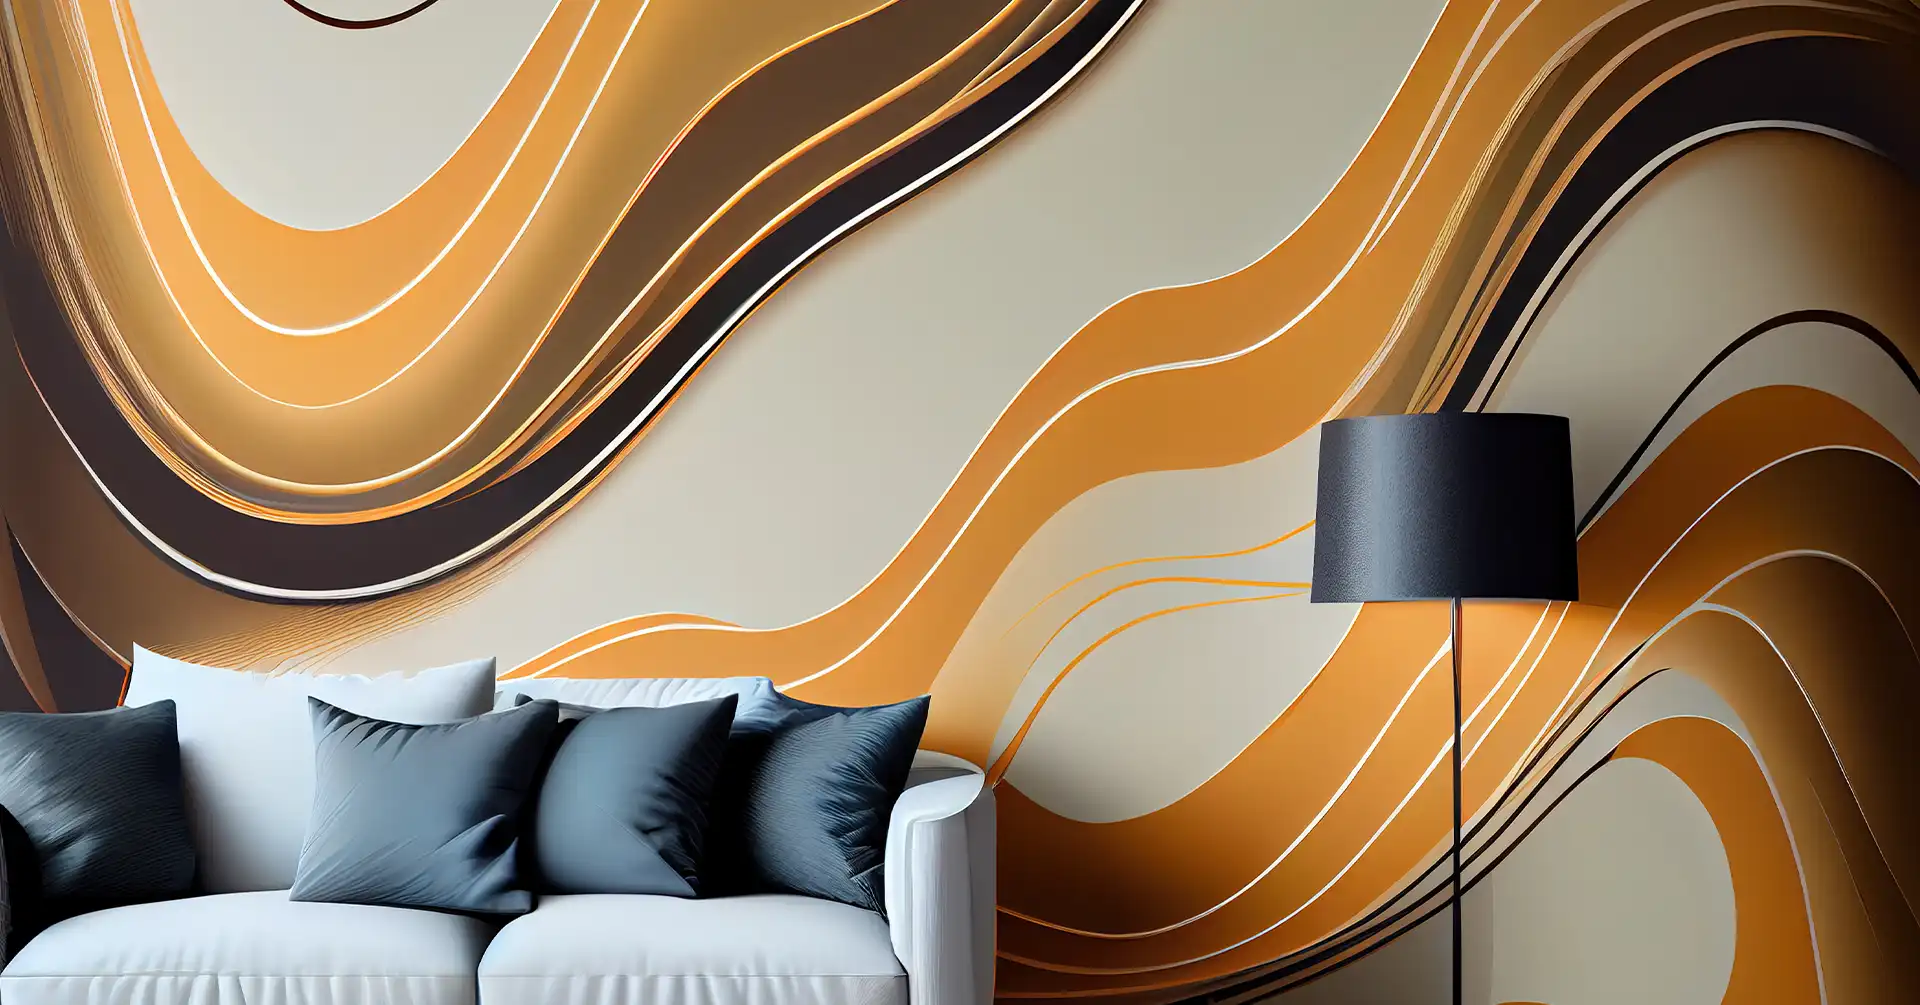
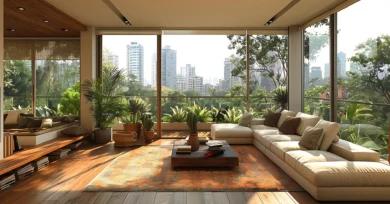
Wall paint is more than just a protective coating; it’s a dynamic element that can transform a space. Beyond safeguarding your walls, the color and design you choose can influence mood, ambiance, and overall aesthetics. In our exploration of wall paint design, we delve into its profound impact on the atmosphere of a room. This section uncovers the functional and aesthetic dimensions, demonstrating that wall painting ideas are not merely a background but an essential player in interior design.
Elevating Interior Decor with Creative Designs
In the world of interior decor, creativity takes center stage. It’s not just about colors; it’s about how you apply them. Creative wall paint designs serve as the artistic brushstrokes that breathe life into your living spaces.
This segment unfolds the pivotal role of creative designs in interior decor. We showcase how a well-thought-out home paint design can be the cornerstone of a room’s personality, setting the tone for style, uniqueness, and visual appeal.
As we embark on this journey through wall design painting, we’ll witness how these creative elements go beyond aesthetics, influencing the very essence of the spaces we inhabit.
Nordic Blues: A Cool and Minimalist Scandinavian Design

Embracing Cool, Minimalist Aesthetics
In this wall color design, we delve into the timeless charm of Nordic Blues, a style synonymous with cool and minimalist Scandinavian interiors. These hues, reminiscent of blue-grey shades, bring an air of sophistication and simplicity to your living spaces.
Achieving Precision with Painter’s Tape
To recreate this wall paint design with finesse, we recommend employing a simple yet effective tool: painter’s tape. This adhesive wonder ensures clean, straight lines, allowing you to master the precision required for Nordic Blues. As you embark on this creative journey, remember that the key lies in the details, and painter’s tape is your ally in achieving a polished and professional finish. Explore these easy paint designs for walls and transform your space with the perfect balance of color and precision.
Gingham-Inspired Squares
Gingham-style wall paint design effortlessly introduces an idyllic charm to your living space. By employing squares in a pattern reminiscent of classic gingham, you can achieve a visually appealing and cozy atmosphere in any room.

To start your gingham-inspired wall paint design, follow these simple yet effective tips for successful planning and execution:
Tips for Successful Planning and Execution
Study the Shades: Before diving into the painting process, carefully study the shades you intend to use for your gingham pattern. Gingham traditionally involves two contrasting colors, so choose hues that complement each other and suit the room’s overall theme.
Plan the Layout: Outline your gingham pattern on the wall using light pencil marks or painter’s tape. This step is crucial for maintaining straight lines and achieving a polished final result. Take your time in planning the layout to ensure symmetry and balance in the design.
Prepare Your Colors: Once the layout is set, prepare your chosen colors for painting. Ensure you have adequate quantities of each shade, and consider doing a small test section before committing to the entire wall. This helps you gauge how the colors interact and adjust if needed.
Keep the Lines Straight: When applying the paint, focus on keeping the lines straight and consistent. Whether you’re using painter’s tape or freehand painting, attention to detail in maintaining uniform lines is key to a successful gingham-inspired wall paint design.
Elegant Lines: Creating the Perfect Headboard Wall Accent
In a modern bedroom, the headboard wall serves as an ideal canvas for an elegant wall paint design. This particular design choice transforms an ordinary space into a chic and stylish retreat.
Crafting the Ideal Headboard Wall Accent
Choosing the right wall for an accent is crucial in interior design. The headboard wall, often the focal point of a bedroom, becomes the canvas for an elegant lines wall paint design. This design not only adds visual interest but also brings a touch of sophistication to the entire room.
Dark Peacock Green: A Bold Choice with Black Thin Lines
The color scheme plays a pivotal role in creating a chic ambiance. In this design, dark peacock green takes center stage, infusing the room with a sense of luxury and tranquility. To enhance this richness, black thin lines are strategically incorporated, adding depth and character to the overall aesthetic.
Orange Burst: Adding Vibrancy to Your Space
Are you ready to transform that narrow, blank wall into a vibrant focal point? Let’s explore the exciting journey of incorporating an Orange Burst wall paint design.
Crafting Shades of Orange
Creating this lively feature is both easy and enjoyable. Begin by selecting your favorite shade of orange. Gradually add white paint to achieve a spectrum of hues, ensuring a dynamic and visually striking result. The process of crafting these shades sets the stage for an uncomplicated yet engaging wall paint design.
Applying the Orange Burst Technique
Apply the carefully curated shades to the wall, bringing life to a once-overlooked space. This wall paint design not only adds a burst of color but also infuses energy into the atmosphere. The simplicity of the process makes it accessible for anyone, turning your wall into a canvas of creativity.
Enhancing Your Living Environment
This Orange Burst wall paint design is an ideal solution for brightening up any room. Whether it’s a corner that needs revitalizing or an entire wall in need of a makeover, this approach effortlessly transforms your space into a lively and inviting haven.
Random Rectangles
Embrace the contemporary allure of wall paint design with the innovative concept of Random Rectangles. This technique introduces a sleek and modern aesthetic to your living spaces. The play of geometric shapes adds a touch of sophistication to your walls.
Effortless Accent for Modern Home Interiors
Elevate the style quotient of your home effortlessly with this wall paint design. Unlike intricate and time-consuming artistic endeavors, Random Rectangles provide a straightforward yet visually striking accent for modern interiors. Select your favorite color palette and embark on a hassle-free journey to transform your space.
Honeycomb
Transform your plain white walls into a canvas of fun and funkiness with the Honeycomb wall paint design. This creative approach breathes life into monotone spaces, offering an engaging and lively atmosphere.
Choosing Colors to Harmonize with Diverse Room Interiors
When implementing the Honeycomb wall paint design, the key lies in selecting colors that seamlessly complement various room interiors. Customize the shades based on the room’s purpose, opting for brighter tones for kids’ bedrooms and more subdued hues for common areas like the living room or dining space.
Grey Diagonals
Transforming a plain, grey wall into a modern masterpiece doesn’t have to be complicated. The Grey Diagonals wall paint design offers a straightforward solution for those looking to upgrade their living spaces. With this technique, you can effortlessly add character and style to your home.
Creating a Trendy and Upbeat Vibe
Incorporating diagonal lines of varying thickness and shades, this wall paint design introduces a trendy and upbeat atmosphere to your living space. The simplicity of the design is what makes it stand out, providing a visually appealing accent that complements modern minimalist homes.
The Appeal of Diagonal Lines
Diagonal lines hold a unique charm, breaking away from the conventional straight lines. By strategically painting these lines with different thicknesses and shades, you achieve a dynamic and contemporary look that effortlessly enhances the aesthetic appeal of your room.
Adding Depth to Your Space
The beauty of the Grey Diagonals wall paint design lies in its ability to create depth. The diagonal lines play with light and shadow, giving the illusion of dimension and movement on an otherwise flat surface. This not only adds visual interest but also makes your space feel more dynamic and lively.
Turquoise Ombre: Bringing Ocean Vibes Indoors
Transform your living space with the refreshing Turquoise Ombre wall paint design, capturing the bright and cool essence of the ocean. This simple yet striking technique brings a breath of fresh air to your interiors without the need for intricate artistic skills.
Creating the Turquoise Ombre Effect
To achieve this captivating look, start with a base coat of a light turquoise shade. Gradually deepen the color by blending in darker tones towards the bottom, mimicking the gradual shift from shallow to deep ocean hues. The key lies in creating a seamless transition, evoking the calming and immersive feel of the ocean.
Harmonizing with Sea-Themed Accents
Complement your Turquoise Ombre wall paint design by incorporating sea-themed accents throughout the room. Consider nautical decor, such as anchor motifs, seashell ornaments, or marine-inspired artwork. These additions enhance the coastal ambiance, creating a cohesive and aesthetically pleasing space.
Light-toned wood Flooring for Balance
Balance the boldness of the Turquoise Ombre wall with light-toned wood flooring. The juxtaposition of the vibrant wall and the subtle warmth of the flooring adds depth and visual interest to the room. The result is a harmonious blend of natural elements that further enhances the overall appeal of your living space.
Vertical Divide
In this section, we delve into the creative process of a stylish and contemporary wall paint design known as the Vertical Divide. This technique adds a touch of modernity to your living space, creating visual interest and depth on your walls.
The Vertical Divide design involves breaking down your wall into three distinct tones. This can be achieved by carefully selecting shades that complement each other, creating a harmonious yet visually striking effect.
Enhancing Minimalist Interiors with Grey Shades and a Perky Yellow Accent
The beauty of the Vertical Divide design lies in its adaptability to various interior styles, particularly minimalist settings. The use of grey shades adds a sleek and sophisticated ambiance, perfectly aligning with minimalist aesthetics.
To amplify the impact, introduce a perky yellow accent strategically within the design. This pop of color not only breaks the monotony but also infuses a lively and energetic vibe into the space.
Reimagining Spaces with Vertical Divide
As we explore the Vertical Divide wall paint design, envision the transformation it brings to your surroundings. This technique is not merely about color; it’s about creating a dynamic interplay that captivates the eye and redefines the essence of your living area.
Whether you’re aiming for a chic urban look or a more subdued contemporary feel, the Vertical Divide design offers a versatile canvas for your creativity. Experiment with different grey tones and the vibrant touch of yellow to discover the perfect balance that resonates with your style.
3D Boxes
Transforming your plain walls into captivating focal points has never been more exciting. The 3D box wall paint design introduces a dynamic and playful element, bringing a sense of depth and visual interest to your living spaces.
Crafting a Three-Tone 3D Box Design: A Step-by-Step Guide
Unlock your creativity as you embark on the journey of creating a mesmerizing three-tone 3D box design. Follow these simple steps, and watch your walls come to life with this easy wall paint design idea with tape:
Step 1: Gather Your Materials
Before diving into the project, ensure you have the following materials:
- Painter’s tape
- High-quality paint in three different tones
- Paintbrushes of various sizes
Step 2: Prepare Your Canvas
Start by cleaning and priming the wall. Ensure a smooth surface for the paint to adhere to, creating the perfect canvas for your 3D design.
Step 3: Outline Your Boxes
Use painter’s tape to carefully outline the shape and size of your 3D boxes. This step is crucial for achieving clean lines and a professional finish.
Step 4: Apply the Base Coat
Select one of your chosen tones as the base color and paint the entire wall within the taped outlines. Allow it to dry completely before moving on to the next step.
Step 5: Add Depth with Shades
With the base coat dry, choose a darker tone for the inner sections of your boxes. Apply the paint within the taped areas, creating the illusion of depth.
Step 6: Highlight with Lighter Tones
Finally, select a lighter tone to highlight the outer edges of your 3D boxes. This step adds dimension and brings the design to life.
Step 7: Remove the Painter’s Tape
Once the paint is dry, carefully remove the painter’s tape to reveal your crisp and well-defined 3D box design.
Summing it up
The world of wall paint design offers boundless opportunities to elevate your living spaces. From the chic elegance of Nordic blues to the whimsical charm of gingham-inspired squares, each idea brings its own personality to your walls. Whether you opt for the simplicity of random rectangles or the captivating depth of 3D boxes, these designs serve as a canvas for self-expression.
Read More:
Patio Ideas: Small Budget Ideas In 2023
Stylish Solutions for Small Bedroom Space | Style All-in-One


